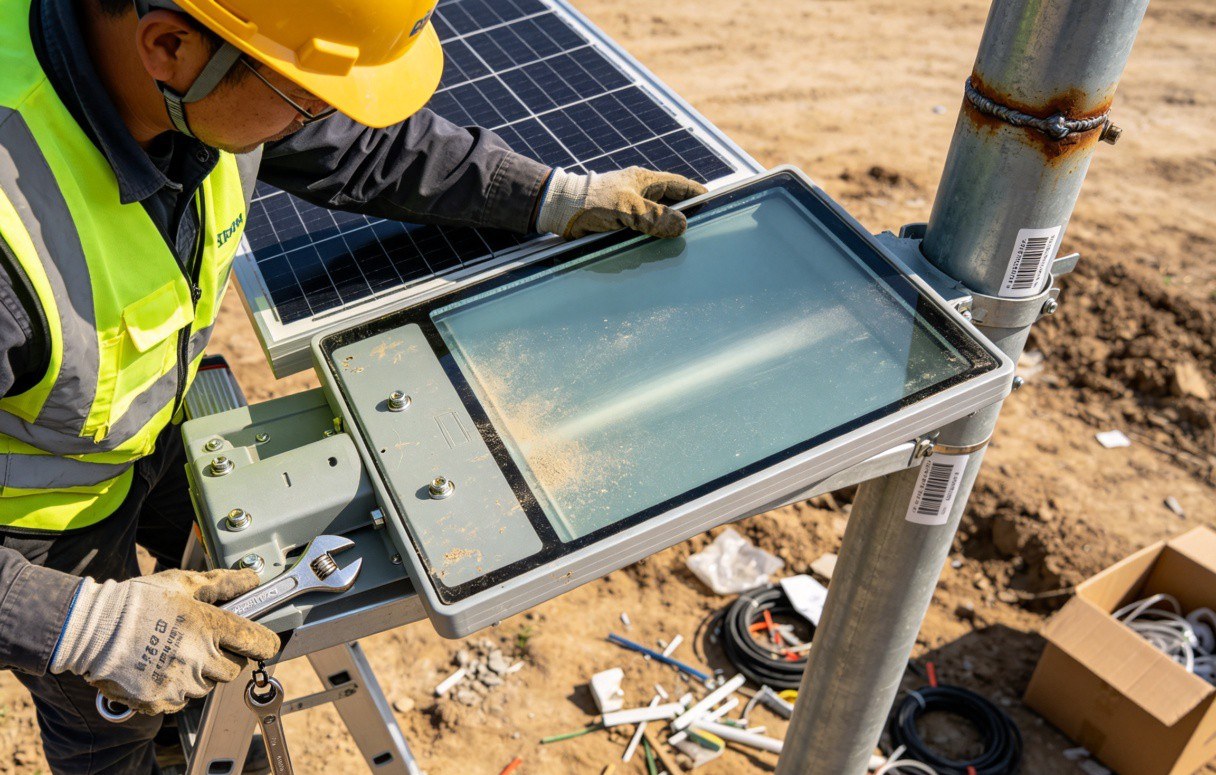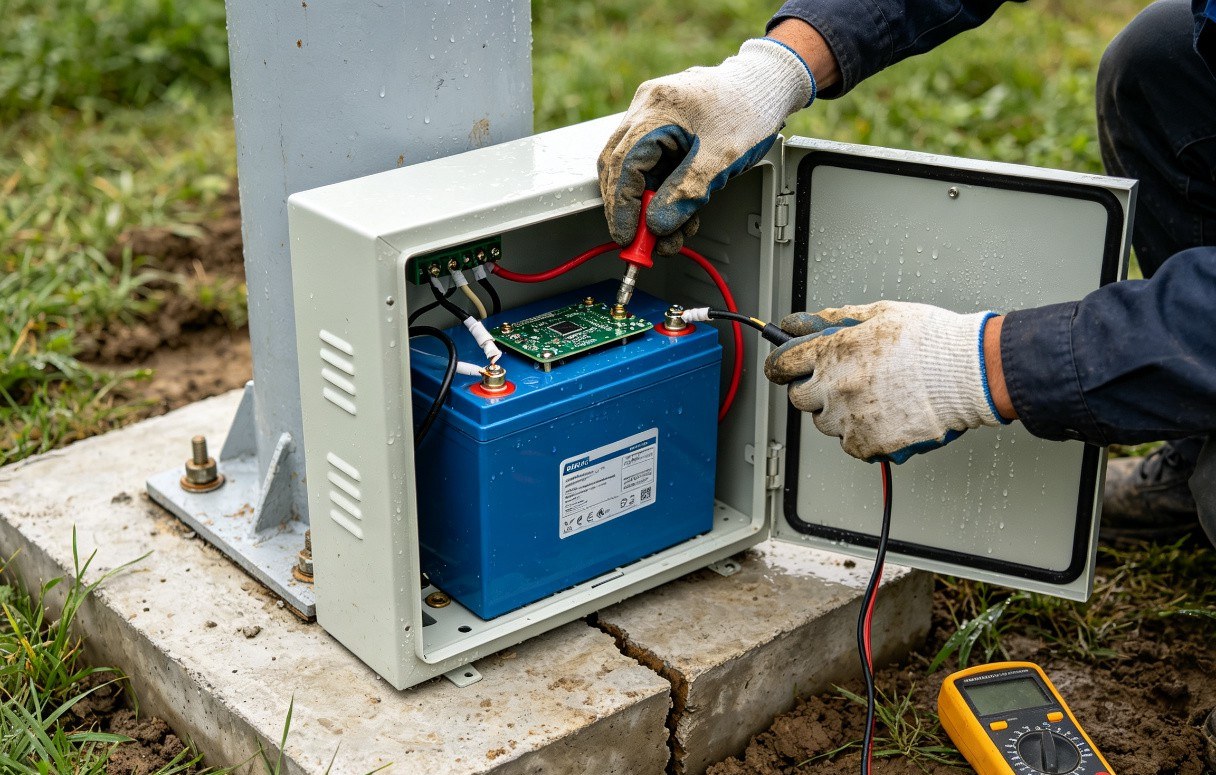
- 1. Survey the site
- 2. Select poles with the lighting and structural design
- 3. Check spacing with fixture photometry
- 4. Set panel orientation for the design conditions
- 5. Use a site-specific foundation design
- 6. Protect and provide access to the battery
- 7. Follow the approved connection sequence
- 8. Record the operating settings and results
- 9. Recheck the conditions that change over time
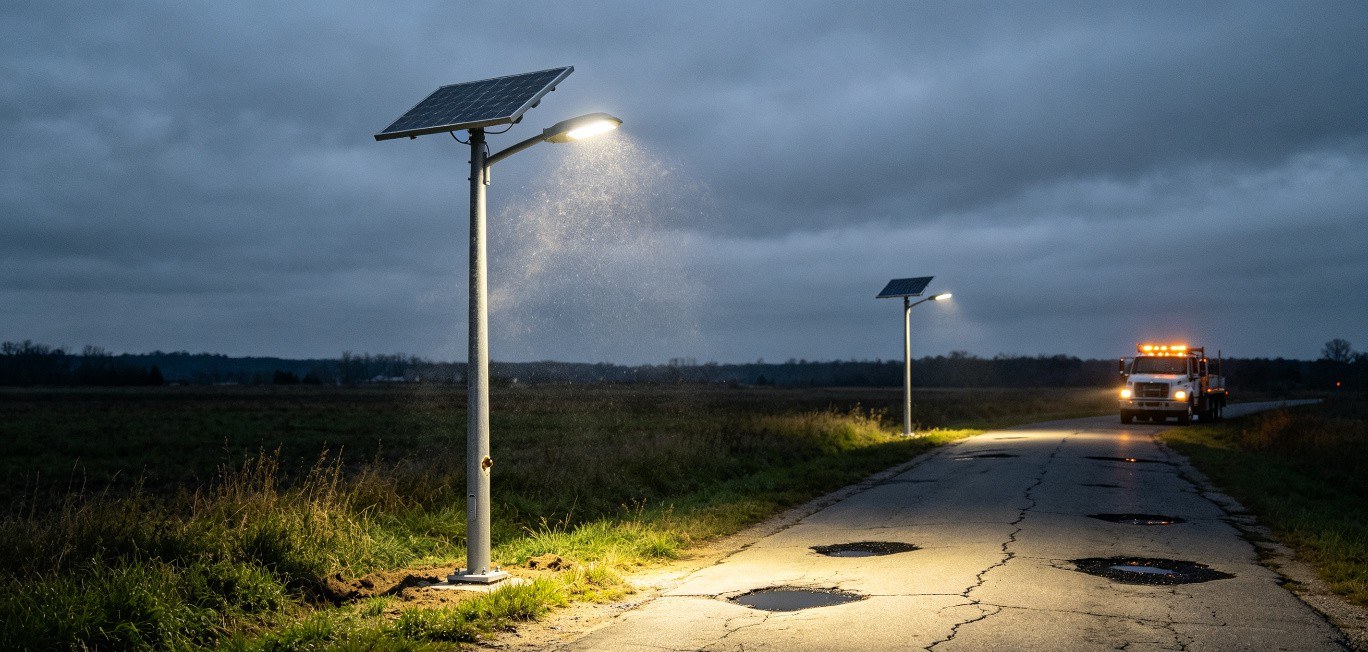
Installation begins with the site design. Confirm the lighting layout, structural details, and seasonal energy balance before ordering poles or casting foundations.
1. Survey the site
Record road width, obstacles, services, shading through the day and year, wind exposure, ground conditions, and access. Confirm local lighting, structural, electrical, and environmental requirements with the responsible designers.
2. Select poles with the lighting and structural design
Mounting height affects distribution and glare, while the fixture and panel create loads on the pole. Use a photometric layout and a structural specification for the site. A height chosen only from lamp watts is insufficient.
3. Check spacing with fixture photometry
Model the exact optic, mounting position, road geometry, and required criteria. Check minimum levels, uniformity, and glare. A fixed multiple of pole height cannot guarantee the result for every light distribution.
4. Set panel orientation for the design conditions
Choose orientation and tilt using the location, seasonal resource, shade, mounting constraints, and wind design. Keep the panel clear of expected vegetation growth and serviceable for cleaning. Latitude alone is a starting point, not a complete mounting specification.
5. Use a site-specific foundation design
Foundation dimensions depend on soil, wind, pole and panel loads, anchor arrangement, and local requirements. Follow the approved structural drawings. Locate underground services before excavation, and use a planned lifting method for the pole assembly.
6. Protect and provide access to the battery
Follow the battery’s operating and charging temperature limits, mounting instructions, and protection requirements. Check access for replacement and avoid locations subject to the wrong heat, flooding, or mechanical exposure for the enclosure.
7. Follow the approved connection sequence
Use the manufacturer’s wiring diagram, cable sizes, connectors, protection devices, and connection order. Confirm polarity and ratings before energizing. Battery circuits can deliver high fault current, so use qualified personnel and the specified isolation procedure.
8. Record the operating settings and results
Check panel input, battery state, fixture power levels, sensor response, and the night schedule. Verify the installed aiming and light levels against the design. Record weather and test conditions, model identifiers, and final controller settings.
9. Recheck the conditions that change over time
Review new shading, dirt on panels, damaged seals, battery condition, and changes to the site. Keep inspection and maintenance intervals with the handover documents. A short first-night test cannot establish backup performance through the design season.
Frequently Asked Questions
Can I use a standard foundation depth for every pole?
No. The foundation must suit the soil, loads, wind conditions, anchors, and applicable structural requirements.
Can pole spacing be set from wattage alone?
No. Use the exact fixture’s distribution in a layout that checks the project criteria.
What should the installer hand over?
Approved drawings, product and battery records, wiring details, test results, controller settings, warranty information, and maintenance instructions.